Translate

Wednesday, June 29, 2016

Frilly and Funkie's All in the Family!


Happy Wednesday! I hope you're having a wonderful day! Independence Day is almost upon us. Do you have plans for a celebration or a weekend getaway?       

Suzz is hosting our new two week challenge at The Frilly and Funkie Blog!  Her theme, 'All in the Family' challenges us to create something inspired by our family. It could be ancestors, a favorite family memory or family outing. Simply create a vintage or shabby chic project reflecting your family.


At the end of the challenge the team will choose their top four picks. Our first place winner will be invited to join us in a Guest DT spot at the The Frilly and Funkie Blog. Three additional talented participants will receive badges to display on their blogs. Everyone who enters and adheres to the challenge guidelines will be entered into a drawing to win a $25 spending spree at The Funkie Junkie Boutique! For entry specifics and  inspiration from my amazing teammates just click on the blog link above.

Many of my happiest memories are tied with our vacations in the Smoky Mountains. We've spent summers there with our children since they were babies, and now we enjoy the same wonderful times with our grandchildren. The photo below is from the summer of 2006. Our son was 13 and our granddaughter was 2. Our son was helping Savannah catch tadpoles in a cup. I snapped this photo at the very moment she put her arm around him for a hug. 


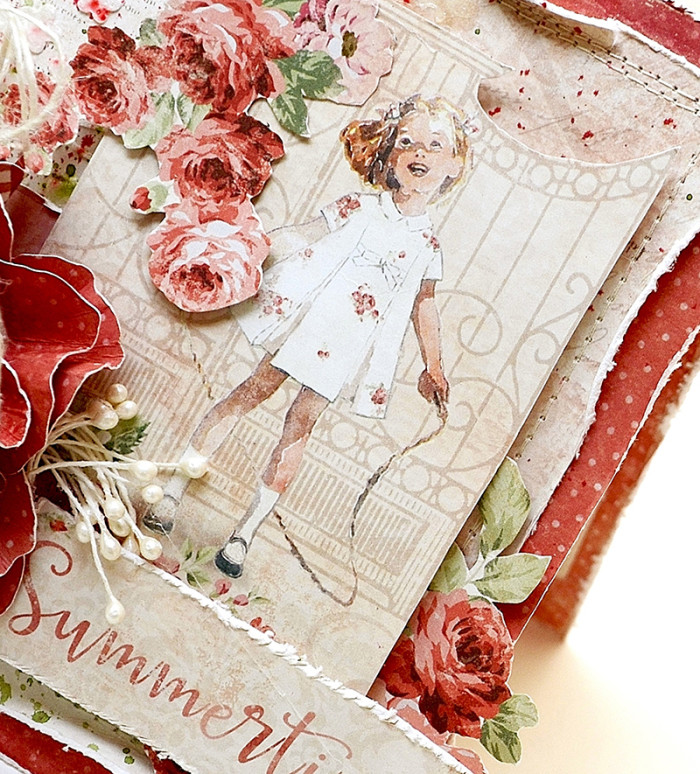
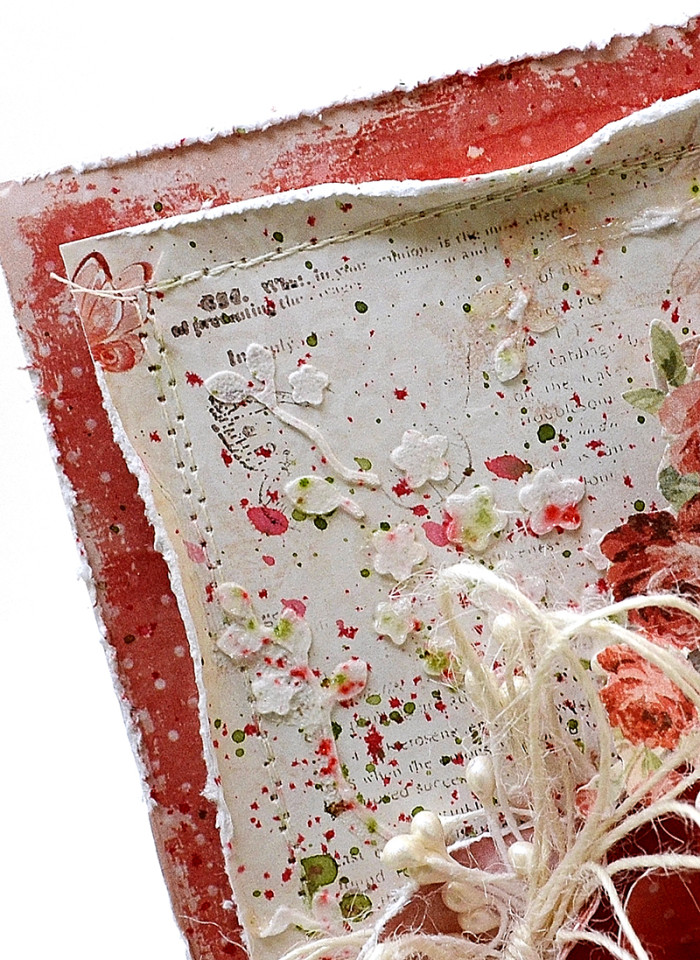
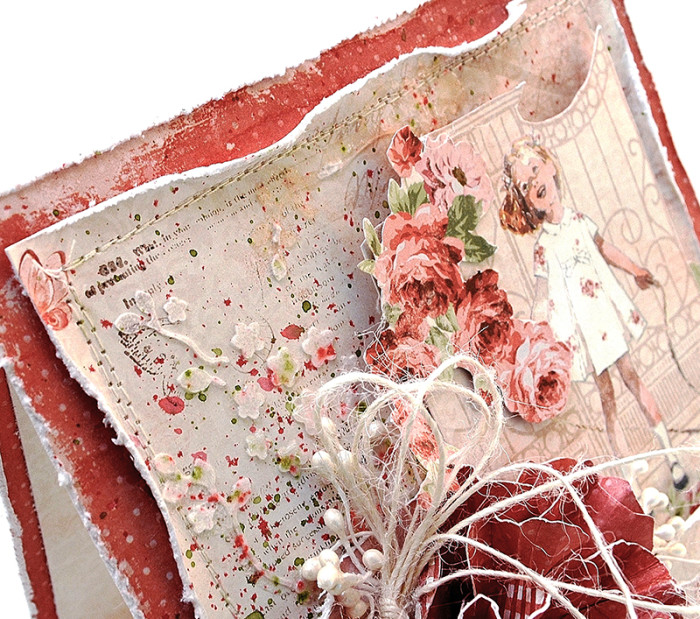
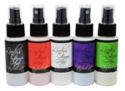
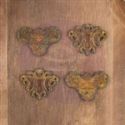
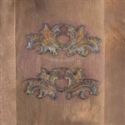
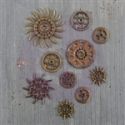
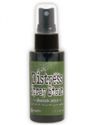
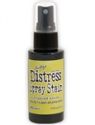
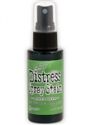
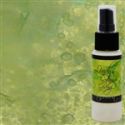
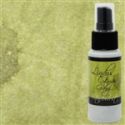
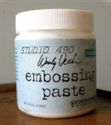
Summer in the Smokies means every color of green imaginable! It is everywhere you look. I had to step outside my comfort zone again. None of the pretty design papers in my stash coordinated with the colors I needed. I created my own using white cardstock, Tim Holtz Distress Sprays, and Lindsay's Stamp Gang Starburst Sprays. I stamped a Prima image in the background, then embossed with a Prima stencil and clear embossing paste to give an appearance of water droplets. 


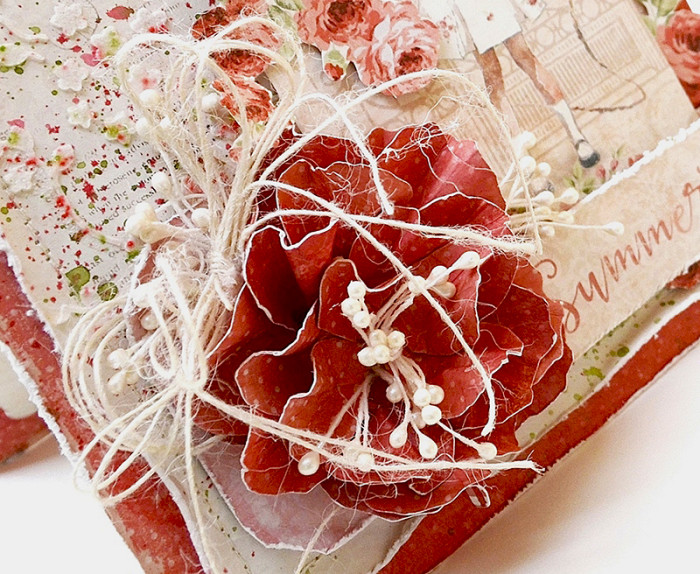
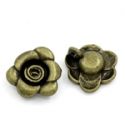
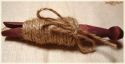
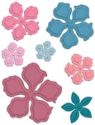
The flowers are a combination of handmade and purchased. The cheesecloth is stained to coordinate with the background. Some natural twine ties everything together. 


Below are a couple close up photos of the background. 


Thank you for visiting with me today! Now it's your turn to share your family memories with us at the Frilly and Funkie Challenge. I can't wait to see your projects! 

Hugs,

Tuesday, June 28, 2016

'Summer in the Garden' Card!


A happy hello to my crafty friends! It's my turn to share a project on the Maja Design BlogI'm super excited to share a card created with Maja's fabulous new papers, Summertime! This collection captures the carefree days of summer, and puts limitless design opportunities at your fingertips.

4

The roses and the image of the sweet girl are fussy cut from the paper collection. The large flower below is handmade from design papers to perfectly coordinate with the card. Flower stamens and a twine bow add a soft touch the lower corner of the card. A tag is layered beneath the flower, but it ended up being mostly hidden.

3 b

The 'summertime' sentiment below is also part of the collection.

7

The papers that form the base are distressed, layered, and stitched. The left corner is lightly stamped with a butterfly/script image from Prima. Floral branches are embossed in the left corner. Several  Distress and Starburst Sprays are combined to coordinate with the papers, and splattered randomly with a waterbrush.

2

The photo below gives a closer look at the layering and dimension.

5

Thank you so much for stopping in for a peek at my card! I hope you enjoyed your visit. I can't wait to see what you create with this gorgeous new paper collection!
Hugs,
Maja Design Papers Used: Summertime-K
Additional Supplies: Tim Holtz Distress Sprays, Lindsay's Stamp Gang Starburst Sprays, Embossing Paste, Crafters Workshop Stencil, Prima Clear Stamp, Staz-On Timber Brown Ink, Flower Stamens, Spellbinders Flower Petal Die, Tim Holtz Distress Tool, Detail Scissors, Water brush, Foam Pop-Up Adhesive, Twine, Sewing Machine, Thread.  

Did you know Maja Design is on Social Media?

Pinterest: Did you know that Maja Design has a Pinterest Page? You can find it right here.
Facebook: You can follow us on Facebook right here and of course "LIKE" us.
Instagram: Maja also has an Instagram account – majadesigninsweden.
(Use the hashtag #majadesigninsweden or the tag @majadesigninsweden
with your Maja papers so we can find you.)


Saturday, June 25, 2016

Steampunk Mirror Tutorial for Frilly and Funkie!


Hello and welcome!! I have the honor of hosting the Saturday Step by Step at the Frilly and Funkie Blog today! My projects always feature pretty papers, bows, and pearls, but I'm breaking loose and changing it up a little bit. We can blame the amazing ladies on funkie team for this. I've been seduced by the funkie side! 

It all started with this flea market hand mirror and a pile of Prima metals and findings from The Funkie Junkie Boutique. 


Two coats of Prima Heavy Gesso are applied to the mirror. Stippling the gesso on the face of the mirror adds a textured effect. Once the mirror is dry I have an opportunity to play around with the metal embellishments for a general idea of where I will place a sentiment stamp. Next the metals get a coat of Prima Heavy Gesso and are set aside to dry. I forgot to take a photo of this step, but applying gesso and watching it dry is a little tedious, so I'm thinking you'll forgive me. 


Now for some fun! Several Tim Holtz Distress Stains and Lindsay's Stamp Gang Starburst Sprays provide gorgeous color. I just spray randomly until I like the way it looks. The stains take on a less vibrant tone as the pieces dry. I'm loving purple and green right now. I'll leave a full list of all the stain colors at the bottom of the post. 


The sentiment is embossed using Lindsay's Stamp Gang embossing powder. The color in the jar appears purple, but surprisingly it is more of a burgundy on my project. While working with the mirror, most of the 'u' in the word 'you' chipped off. My choices are to start over or live with the chipped letter. I'm letting go of perfectionism (just this once!) and living with it. 


All of the stains are water reactive, so it's necessary to add a protective barrier with Ranger Multi Medium Matte. Even the moisture from the Multi Medium moves the color around a bit. It's no problem. Just pick up some of the desired stain on a brush along with some Multi Medium and touch up the areas that need it. Once the Multi Medium is applied the colors appear bolder, more the way they look when they are wet. 


With everything colored, stamped, and sealed I can arrange and glue down the metals. Ranger Multi Medium Matte works perfectly for adhering most of the embellishment. I had to use a hot glue gun for a couple really stubborn pieces. Below are some photos of the finished piece. 


Thank you so much for stopping by to take a peek at my altered mirror! It's a departure from my usual style, but so much fun to create. I wish you a day of sunshine, happiness, and delightful crafty endeavors! 

Hugs,