Hello! What a lovely springtime Friday it is. The trees are green, flowers are blooming, and the sweet pair of House Finches have returned to nest in our hanging fern. Excitement and anticipation seem to hang in the air, with everything coming to life all around us. The beauty surrounding me brings joy to my heart, which has translated to the theme for my project.
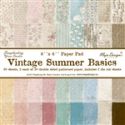
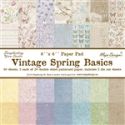
I began by cutting my banner shapes from Maja's Vintage Springtime Basics paper collection using Spellbinders Nested Pennants and Nested Lacy Pennants, then layering them on to Tim Holtz Grunge Paper for added strength.
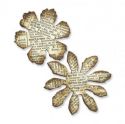
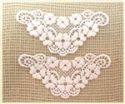
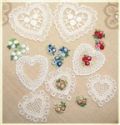
I crafted the top of my banner with venise lace appliques. I love working with them as they add a shabby chic touch to absolutely everything. I've layered several pieces to craft the tops of my banner. You can purchase this product line in white or hand stained by Linda. I've used a sampling of both here.
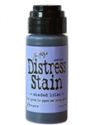
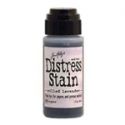
The base layer for the top was originally white. I wet down the lace applique and stained the front of the above piece using a mixture of Shaded Lilac and Milled Lavender Tim Holtz Distress Stains. It was darker than I liked so I gave it several good rinses under the faucet. After it dried I found that the back (originally the unstained side) of the piece was the perfect shade to match the papers.
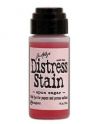
The next layer of my topper is a heart stained in a mixture of Spun Sugar and Tattered Rose using the same technique.
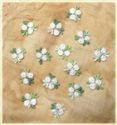
The tiny flower buds in the center of each heart arrived perfectly hand stained by Linda!
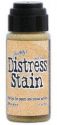
For the pale yellow topper I used a mixture Scattered Straw and Antique Linen in the same method as the other stained pieces. Once again the back of the piece was just the right color for my banner.
The center heart was stained in the same way as the lavender banner topper, but came out looking more blue. It ended up being just right for the creamy base layer.
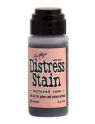
The pink topper is once again the Spun Sugar and Tattered Rose Distress Stains, the unstained back becoming just the right shade for the papers after a few rinses. The center heart is stained in the Scattered Straw and Antique Linen.
The letters were cut using the Alteration's Word Play die and Grunge Paper, then painted with Tattered Rose Distress Paint. I cut the base circle with a Spellbinder's Lacy Circles die. The plain center circles were cut using Alteration's Sized Circles die and Maja's Vintage Springtime Basics paper collection. The venise lace hearts were beautifully stained by Linda, adding the perfect finishing touch for my banners.
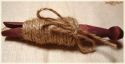
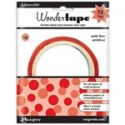
Once all my pieces were completed I adhered them to a length of lace using Ranger Inkssentials Wonder Tape. It's the strongest tape I've ever used and perfect for use with lace. I added some lace bows around each banner piece and attached some more of Linda's stained rose buds to the center of each one
.
Thank you so much for stopping by for a visit!! I hope your week is truly filled with joy, health, and crafty happiness!
Hugs,