Hello! I have the honor of presenting the Saturday Step by Step this week at the
Frilly and Funkie Challenge Blog. Tomorrow is Easter and we have been busy with our preparations. Each year I make tags to to give as gifts, and one of my wonderful blog friends recently requested a tutorial for these tags. I thought it would be the perfect time to showcase my favorite
Pion Fairytale of Spring line. I adore the soft vintage images and coordinating papers. These are not just for Easter. I make them throughout the year for all occasions. Pion designs luscious papers and vintage images for every season. Linda carries the full line at
The Funkie Junkie Boutique, and as always offers 20% off MSRP!
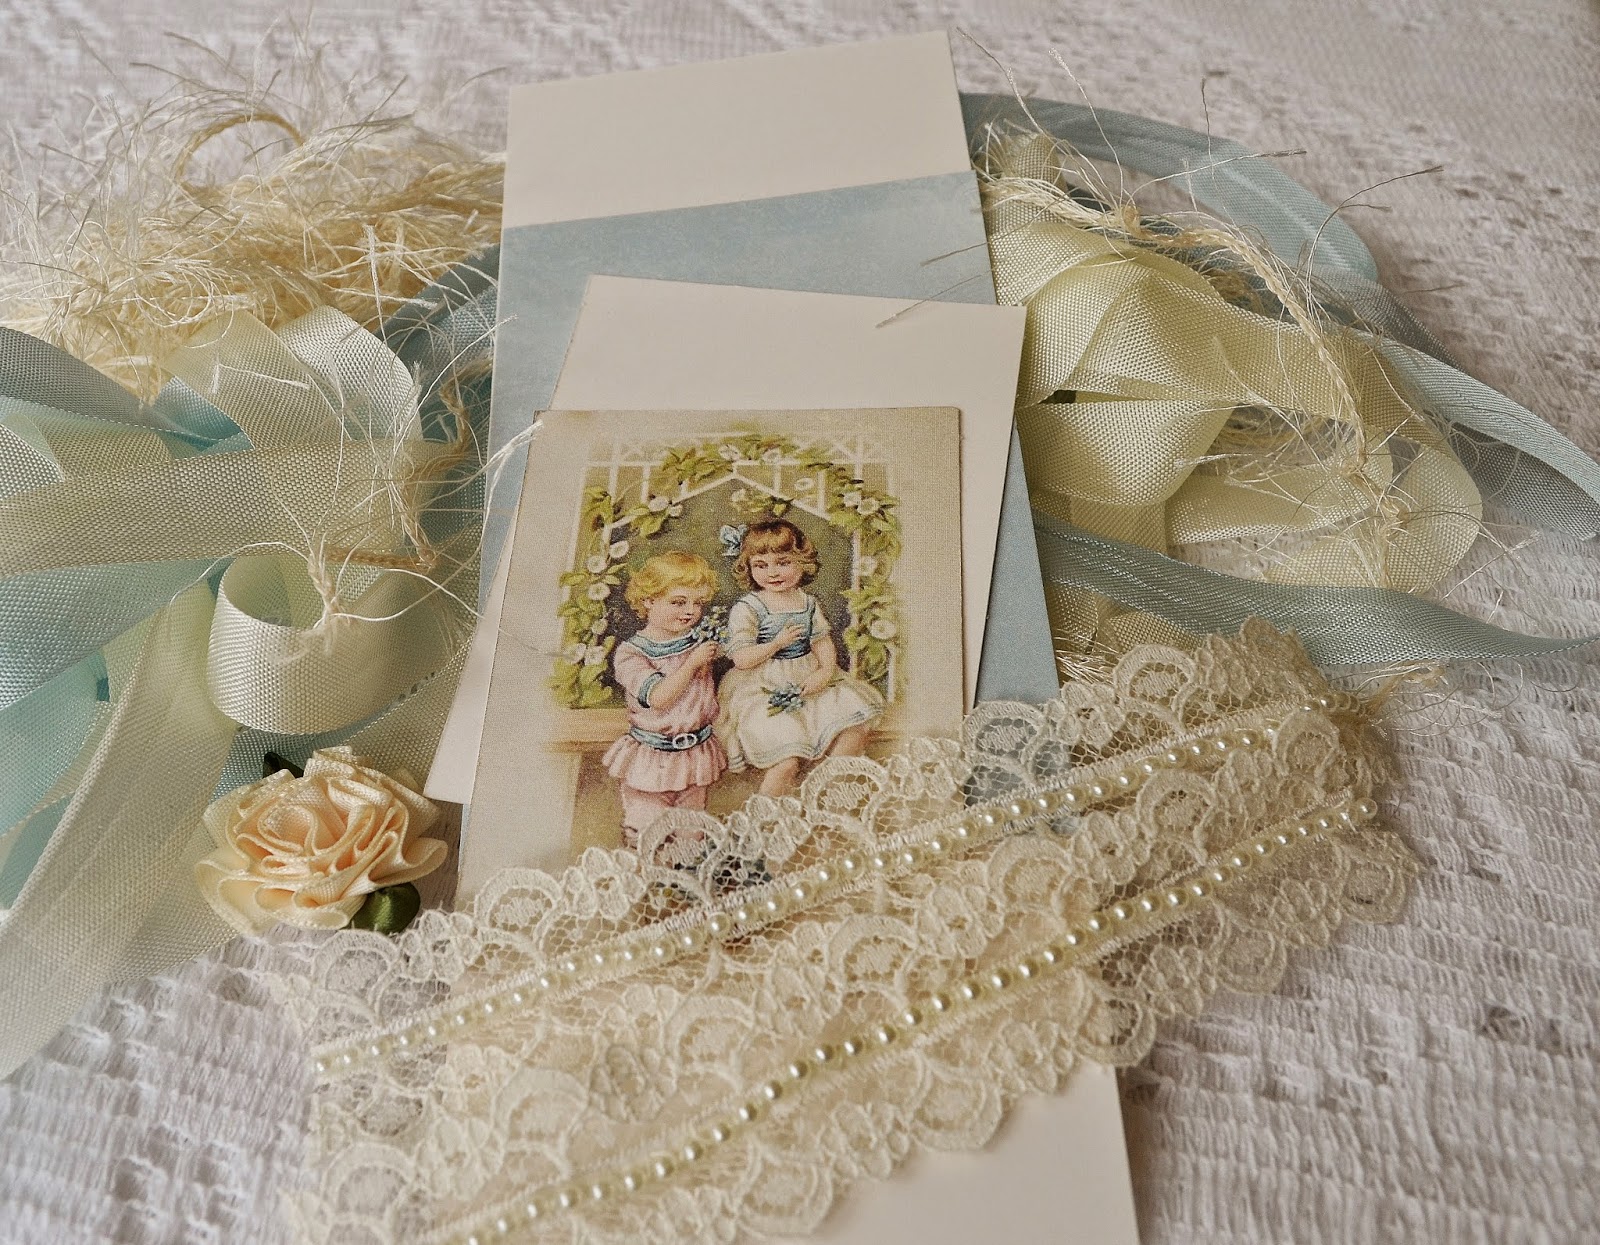
The above photo is of my gathered supplies. I put my things in front of me to begin work and realized how pretty everything looked before I even began assembling my project. I deemed it photo worthy.
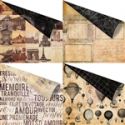
The below photo demonstrates my cutting measurements. The long card stock strip is for the base of the tag. The blue design paper is the base for the vintage image, which is framed by the smaller card stock section. These measurements can be adjusted to fit the size of your image.
The next step is to prepare your image by adhering it to the card stock frame. You can easily do this with adhesive. I added stitching to mine (very inexpertly) because I'm trying to learn to sew. I don't sew well, but rationalize that because these are
shabby chic it is okay if there are imperfections. I'll call it character.
Now it's time to emboss your base. It's a small project so I chose this small, simple dot folder. It looks sweet and doesn't detract from the beautiful papers.
Once the embossing is complete I use a punch to create a pretty lace border on the bottom of the tag.
Next I use a punch to create the tag corners. You can do this with a pair of scissors or any corner tool you have in your craft room.
I use a Cropodile to punch my tag holes, but you can use any hole punch you have handy.
Now I adhere the designer paper to the tag base. For this tag I leave a little more room on the bottom of the tag than the top, allowing a bit of extra space for the ribbon embellishment.
Adhere the prepared image to the center of the coordinating Pion paper.
Adhere lace strips to both ends of the background paper. I cut the lace strips to about 3 1/4 inches each and adhere them around to the back of the tag for a cleaner look. I like to use the red line tape for this because it's the strongest and most reliable (and most invisible) I've found for holding lace.
For this tag style I like the look of really crinkly seam binding. To achieve this I prepare it a day in advance. Each tag uses about 2 yards of seam binding. I saturate the seam binding with hot water, roll it up into a tight ball inside a paper towel, and microwave it for 30 seconds, then leave it inside the paper towel overnight.
In the morning I remove the seam binding from the bundle, gently untangle it, and spritz it with cheap hairspray. The hair spray goes a long way in holding a good crinkle, as well as giving it some interesting texture. You don't need to have dozens of colors of seam binding in your craft room to get the color you want. Plain white seam binding is the most versatile. It's simple to die using re-inkers or distress stains.
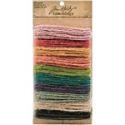
I like to bring in the eyelash yarn at this point. It's soft and feminine. I love the way it looks and feels!
I've used two lengths of ivory seam binding and one length of blue to create a triple ribbon. I tied them all together with the eyelash yarn. The middle looks a bit messy but it will be covered up, so no worries.
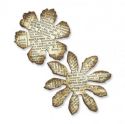
Adhere the ribbon to the bottom of the tag and glue a flower in the center. I had these fabric flowers in my stash, but you can use any small flower you have or even make one yourself. At this point I use my hot glue gun. It adheres chunky embellishments quickly and effectively.
Cut two more lengths of ivory seam binding, one length of colored seam binding and a double length of eyelash yarn. I thread one length of seam binding through the tag hole and tie the rest of the fibers around it. This way you end up with a nice full topper for your tag.
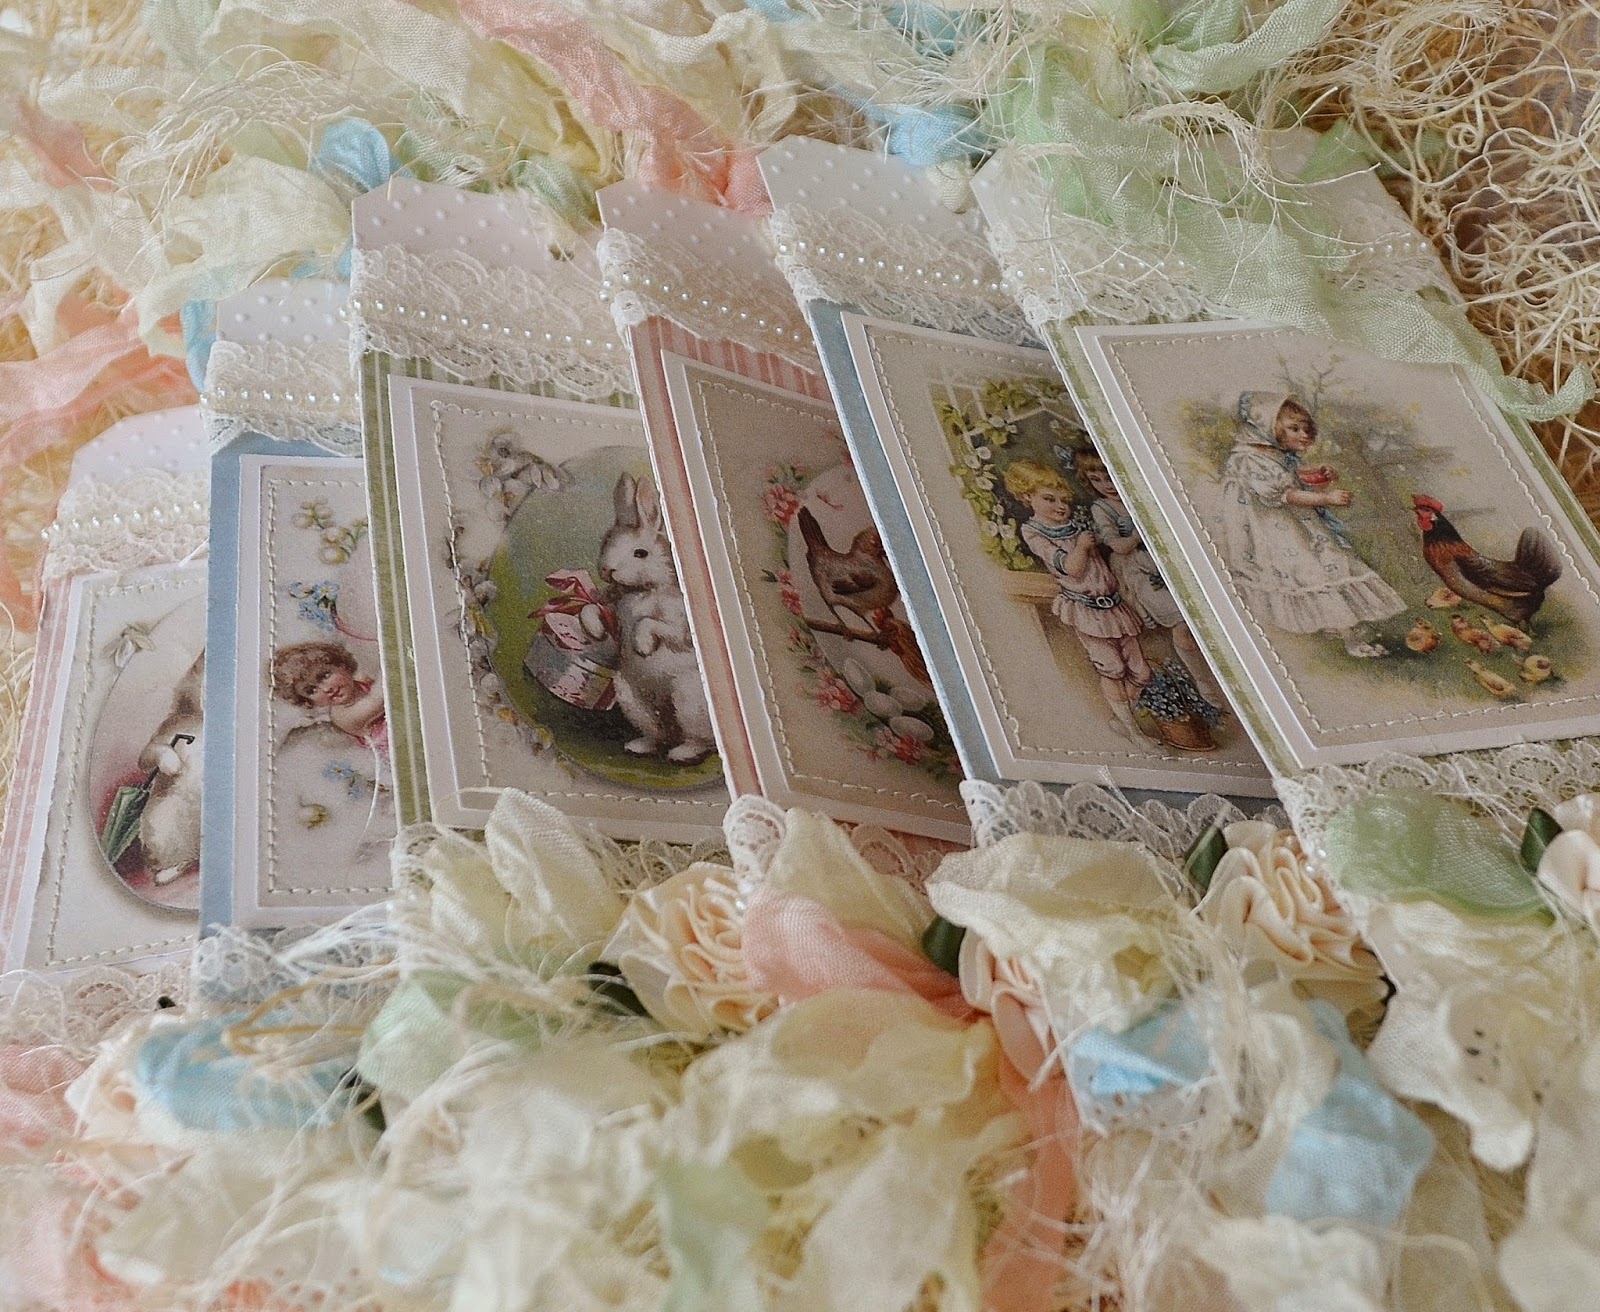
That's all there is to it! In just a few minutes you have a tag ready for anything your heart desires! I have several more photos of the tags I made using the Fairytale of Spring collection below, just to give you an idea of how really lovely these papers and images are. I have also included a list of the other products used at the bottom of this post.
Thank you so much for visiting! It's been a true pleasure sharing these tags with you. I wish you a glorious and joyful Easter!!
Hugs,


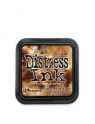
Other Products Used: Cuttlebug embossing folder, Martha Stewart punch, Stampin Up corner punch, Cropadile hole punch, hot glue gun, lace strips and eyelash yarn from my stash.