Translate

Wednesday, March 12, 2014

From the Flower Market


A happy hello to my amazing blog friends! It is such an honor to have you visit. I hope this day finds you well and doing everything that brings you joy. I'm super excited because our son will be home for spring break in a few days. We haven't seen him since he went back to college in early January. He stays so busy that he can't come home unless there's a break, so I cherish every moment I have with him.

Another 2 weeks have flown by and it's time for another fun challenge at the Frilly and Funkie Blog! Rebecca is our host, and she challenges us to select a neglected die from our stash and see what we can create with it, thinking outside the box...or in it!! 


This was the perfect challenge for me. I get set in my ways and tend to pick up the same dies over and over, letting others sit on a shelf collecting dust. Well, I blew off that dust and chose 5 dies I purchased months ago but have never used, as well as a couple of stamp sets. I'll include a supply list at the bottom of my post in case you're interested. 

The coming of spring has me longing for the Farmers Market with its bounty of fresh produce and blooms. I went with that theme to create this vintage inspired flower cart, overflowing with roses in all shades of purple and lavender.    


My first challenge was to create the wheelbarrow using a Sizzix Die. I covered it in Tim Holtz Picket Fence crackle paint, then wiped on vintage photo distress stain to give it an aged appearance. I also did a little stamping on the sides using Distress Ink.

Next on the list came the roses, and lots of them. I used a Tim Holtz die and Maja Papers to create these tiny beauties. It was time consuming work, but well worth it in the end. Once I had the flowers arranged to my liking I filled in the base with natural moss.


I used another die and stamp set from my stash to craft the little 'sale' sign. A few delicate butterflies have fluttered around my flower cart as a finishing touch. 
   

I thank you for stopping by to take a peek at my little wheelbarrow. I send my wishes to you for a day filled with happiness and all things wonderful! 


Additional Supplies: Stamps: Crafty Secrets Price Tags, Stampendous Eiffel Tower Clear Set; Dies: Sizzix Wheelbarrow, Cheery Lynn Small Exotic Butterflies and Build a Flower 2, Magnolia Peaky Flower Tab; Natural Moss and Floral Wire from my stash.

Saturday, March 1, 2014

A Shabby Mini Album


Hello and happy Saturday to all my blog friends! It's my favorite day of the week, and this one is even more exciting because I have the pleasure of bringing you the step by step at the Frilly and Funkie Blog
I should probably begin by telling you about my love of antiques. I volunteer as a docent at an 1808 Charleston mansion. One of my favorite displays is the hand written music book that belonged to one of the daughters. It holds a dear place in my heart, with its stains and mildew spots, a treasure that has withstood most of the ravages of the past 200 years. Today we will journey back in time, taking something new and creating a photo album that looks like it has been around for a couple of centuries.


 We begin with a book. I purchase my crafting books from a used book store at the bargain price of three for a dollar. Step 1: demolition. Rip off the covers. Yes, just rip them off! Keep the covers for later use. You can create some amazing things with the covers.


Once your covers are removed they will look something like the above photo. Now it is time to start disassembling your books. Remove the blank pages at the front and back, carefully separating them.


Next rip out a section of your book that will become your album. I made mine about 15 pages for the purpose of this tutorial, but you can make them any size you like. When you pull them off, be sure the glue from the back is intact to your section. You don't want your album pages falling apart on you.    


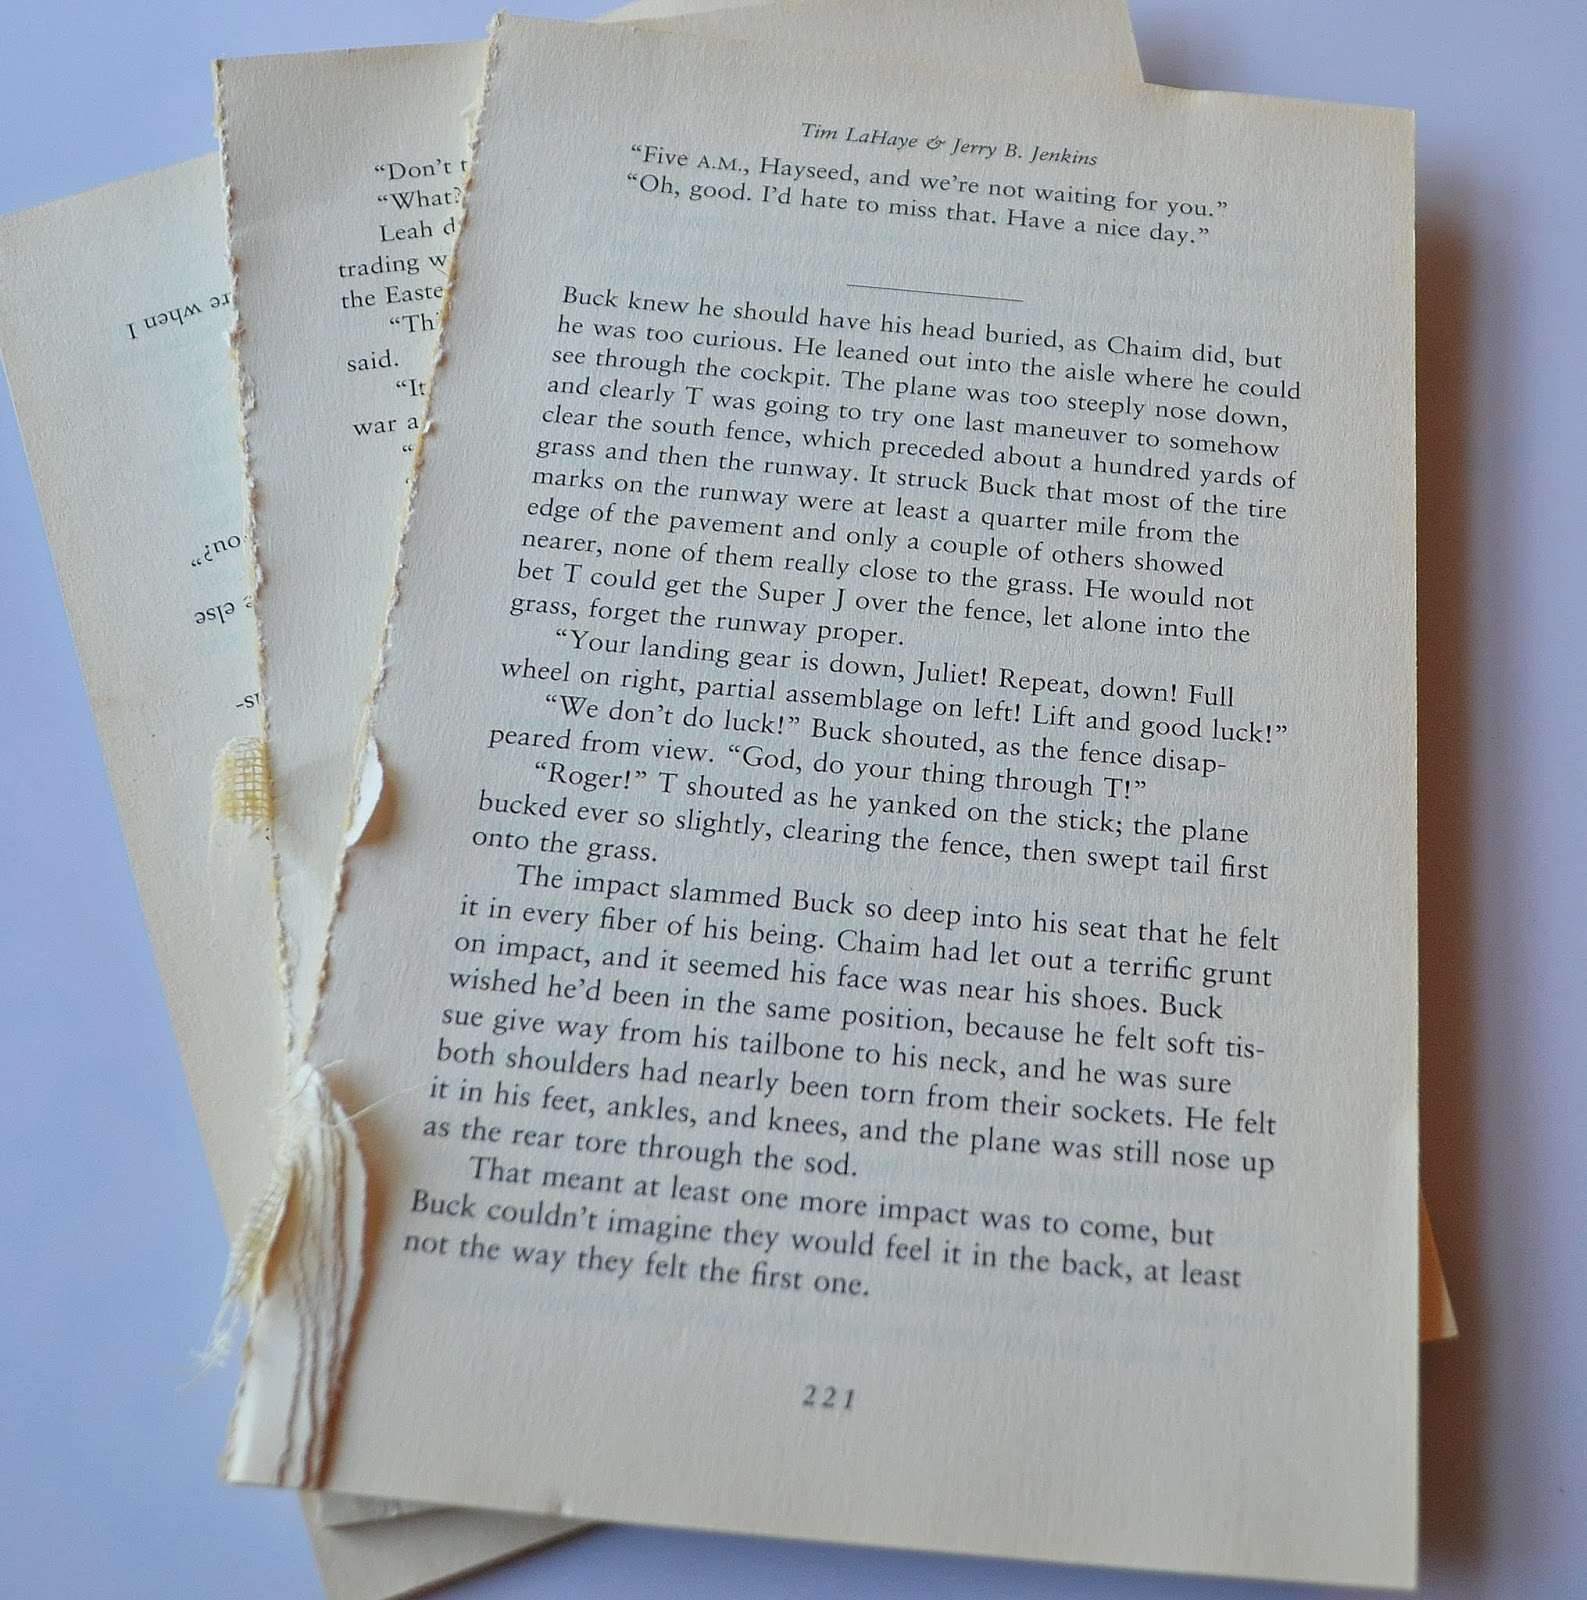
Let the aging begin! I do this by buying the cheapest store brand instant coffee available and mixing it with some hot tap water. Submerge your paper and book sections fully. I don't leave them in for long. Just enough time to be sure everything is saturated. Sometimes you need to separate a few of the pages to wet them down fully. I give the book sections a squeeze at the end to make them more wrinkled and remove the excess coffee.  


After they are stained I bake them in the oven at 225 degrees on a foil covered baking sheet until they are dry, turning once during the process. The blank pages dry quickly. The thick sections take a bit longer. I open those up in the center and spread them out to facilitate drying. Keep checking on them and don't walk away from your kitchen while baking paper. The photos below are the end product of the staining technique. They have blemishes and imperfections, which is exactly what you want. I add even more character to my blank pages by running the Tim Holtz distress tool along the edges. 


 Begin separating your book into sections of fairly equal size. My sections are 5 pages each, giving my album a front, back, and two center sections. I  glue each section of 5 pages together, then cover the front, back, and  middle sections with the blank stained pages. When applying your blank stained pages, leave about an inch of the long side of the page un-adhered. Use this space to glue in strips of lace as embellishment.


Gather up some pretty laces and distress stains. Linda has a marvelous selection at the Funkie Junkie Boutique. I find that lace accepts the distress stain better than the coffee I use on the paper. Wet your lace down with plain water and liberally apply distress stain. I use antique linen and old paper. Once your lace drys you will adhere it into the edges of your album. It will look something like the photo below. 

  
 Next I did a bit of stamping with Tim Holtz distress ink and some favorite stamps.


 Now it's time to gather some pretty papers. I chose Maja's Vintage Summer Basics. I did some artistic tearing for my front and back covers, and cut the middle sections to just below the size of my album pages. I did the same coffee staining process with my Maja papers, finishing the edges with the distress tool.


I found the perfect way to display my photos! Tim Holtz cabinet cards! I love them! Below are a few photos of my completed pages. I kept my album simple, but you can be as elaborate as you like. 


I distress stained and adhered some rosette lace to the spine of my album. I decided I wanted a few more embellishments on my cover. I made a small tag using a stamped image and Maja papers, added a vintage cluster earring, tied it all together with some additional stained lace, and tucked in these sweet vintage images to finish it all off.


Thank you so much for stopping by today. With my fingers now happily covered in ink and stain, I send my wishes to you for a wonderful and crafty weekend! 
Hugs,