Translate

Showing posts with label Mini Album. Show all posts

Wednesday, May 4, 2016

Cars Album for Frilly and Funkie!


Hello to you on this beautiful day! I know this photo doesn't look like it belongs on my blog, but if you read on you'll find there's a good reason for that.   

It's the start of a brand new two week challenge at The Frilly and Funkie Blog! Kathy is our hostess, with the Challenge Theme of Opposites Attract.  For this challenge Kathy asks us to create any type of project you choose, as long as it is not done in your usual style and color palette.

At the end of the challenge the team will choose their top four picks. Our first place winner will be invited to join us in a Guest DT spot at the Frilly and Funkie Blog. Three additional talented participants will receive badges to display on their blogs. Everyone who enters and adheres to the challenge guidelines will be entered into a drawing to win a $25 spending spree at The Funkie Junkie Boutique! For entry specifics and  inspiration from my amazing teammates just click on the blog link above.

My signature style is soft, flowery, and feminine with a vintage touch. And there's always a bow! I had to dig really deep to find my way out of it. I threw a few projects in the trash bin before deciding on this Tim Holtz grunge board/grunge paper album in bright, primary colors.

My grandboy is a 'Cars' fan. Maybe more than your average fan. He has the entire film memorized! We're planning a family Disney trip, so I crafted him a Cars themed album to use as an autograph book.


The album is created using Tim Holtz Grunge Board for the exterior. The pieces of the cover are joined with Tyvek envelope scraps. Tyvek envelopes NEVER tear, no matter how hard you try. You literally must cut them with a sharp scissors to get them open, so they work perfectly for my project. The three ring binder is also a Tim Holtz item that is attached to the spine with brads. Once assembled the entire album is coated in a base of black gesso. The spine has an additional, more flexible overlay of Grunge Paper. It's embossed then painted in Fire Brick Red Distress Ink. 

The outer and inner boards are covered in hand stitched, embellished pages. The inside of the front cover features a handstitched pocket containing a collection of Route 66 vintage postcards.  

A few embellishments are purchased, but most are handcrafted from found items and images. The miniature postcards are printed from actual vintage postcards that I collected and scanned. 

The inner pages are left blank for signatures from Mickey and the entire Disney gang, and of course, a page for a photo of my grand munchkin with the one and only Lightening McQueen!    


Mater is fussy cut from a found image. He is several layers deep. Each layer is popped up with foam tape for a dimensional appearance. All of the images and embellishments are covered in Multi Medium Matte or Gloss to lend protection and durability.  


The back cover features the entire population of Radiator Springs! You may have noticed there is no bow anywhere on this album! It was difficult, but I did it!    

Thanks so much for visiting with me! Now it's your turn to look inside yourself and create something completely out of your usual style. I can't wait to see what you come up with! 

Hugs,

Monday, October 5, 2015

Craft Hoarders Anonymous October Blog Hop!


Hello! Welcome to the Craft Hoarders Anonymous October Blog Hop! You should have arrived here from Bonnie's blog. After your visit here you'll hop on over to Wendi's blog. To start at the beginning and work your way through the hop, just click on this link to Gloria's blog.

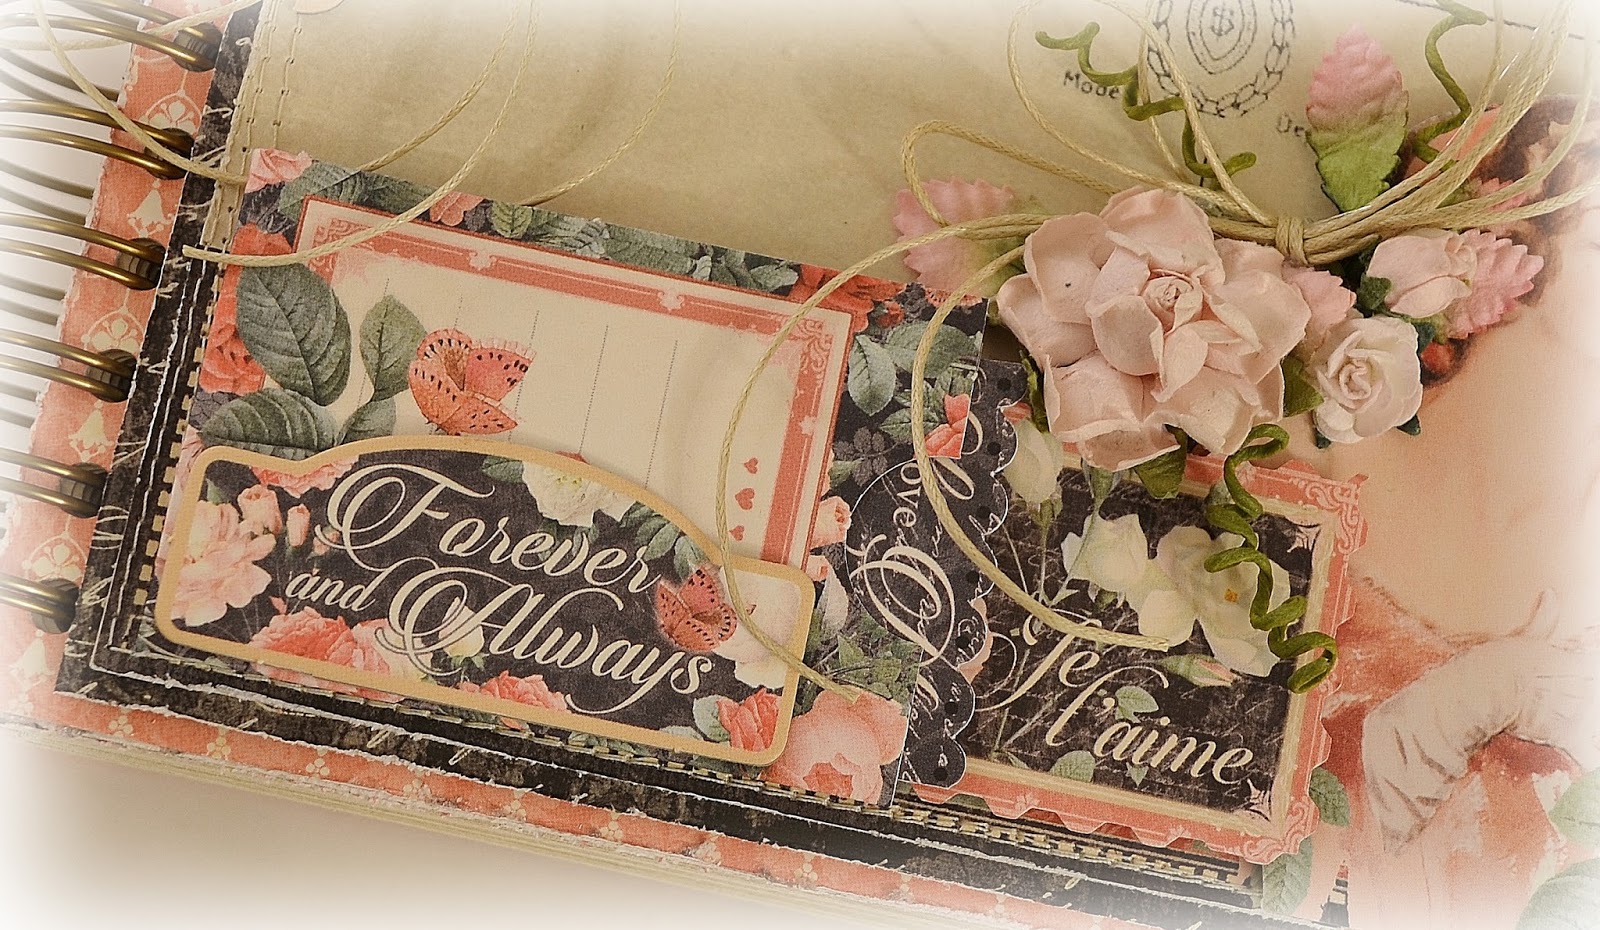
I created a guest book for the wedding of my dear friend's daughter. I was guided by her wedding colors and the simple rustic/vintage theme she has chosen. 


I purchased a huge supply of Graphic 45's Mon Amour when it first hit the shelves, but this my first time cutting into it. I cut, distressed, layered, and stitched the papers to form a base for the cover, then fussy cut the image on the front and layered it for dimension. The postcard background was created in Photoshop. I embellished the album with several items from the collection, as well as a few blooms and twine. 


Instead of providing lined sign in spaces I created postcard pages. Now family and friends can each write a special note to the happy couple. 


Finally, I bound the album using a Cinch and Cinch wires. 


Thank you so much for all of your kind words during the last blog hop. Your comments touched my heart. I treasure each and every one of you! May your day be filled with joy and crafty fun! 

Hugs,


Supplies: Graphic 45 Mon Amour design paper, chipboard embellishments, and tags; twine, floral wire, paper flowers, Cinch Binder and wires, computer generated postcard.

Saturday, August 15, 2015

Tag Pocket Mini Album


Hello, my friends! I'm thrilled to be presenting the Saturday Step by Step over at The Frilly and Funkie Blog this week! You're probably thinking, "Oh no, another flower tutorial"- lol! I do love making flowers, and I did think about it. In the end I decided to change things up a bit with this Tag and Pocket Mini Album. I have a few photos of my finished album here, but you can find photos of the inside pages along with a detailed tutorial by following the link above.


It's an honor to be with you today. I hope this gets you in the mood to make minis! These are so fun and easy. You can create them in bulk for seasonal albums and holiday gifts. It's never too soon to start working on your Christmas list! 

Hugs,


I have entered my album in the following challenges:
Word Art Wednesday - Anything Goes, Family Friendly
Creative Inspirations - Flowers
Little Scrap Pieces - Anything Goes
TTCRD - Anything Goes
Avenue 613 Create - Anything Goes
DL Art - August Linky Challenge
Inspiration Destination Challenge - Anything Goes
Crafting with Friends - Anything Goes